
Customer Service +65 8044 8419




























Dance Floor Seams and Subfloor Preparation

FREE MOVEMENT DANCE SOLUTIONS
Seams and Floor - Unevenness
Before your Marley floor goes in, it helps to understand what a standard installation looks like at the seams and how the condition of your subfloor affects the finished result. This page sets honest expectations.
What Seams Look Like After Installation
A non-welded Marley installation uses Marley tape to join sheets at the seam. Here is exactly what to expect from the finished result.

When Marley sheets are joined without heat welding, the seam is held together with Marley tape applied along the underside of the joint. The tape bonds both sheets firmly and keeps the seam flat against the subfloor.
Looking at the floor from a standing height, the seam is typically a fine, visible line running across the surface - similar to a thin crack in appearance. It sits flush with the rest of the floor and does not protrude above the surface when installed correctly.
Under good lighting, the seam line is noticeable - especially on solid-color mats. It is not invisible, and that is normal. What matters is that the seam is flat, secure, and does not lift or catch footwear during use.
Over time, with regular use and cleaning, the tape bond remains secure provided the subfloor underneath is smooth and level. Any unevenness in the subfloor will cause the seam to behave differently - covered in detail below.
Important to know: A taped seam is visible. It is not a defect - it is the expected result of a standard non-welded installation. If a completely seamless, invisible finish is required, heat welding is the correct solution.
Three Conditions That Affect How the Seam Looks
The seam's appearance changes depending on subfloor condition, lighting, and how long the floor has been in place. Here is what each scenario looks like.

Flat Subfloor
Condition 01 · Smooth Subfloor
Flat, Flush, Barely Noticeable
On a smooth, level concrete subfloor, the seam lies flat and flush. From standing height it appears as a fine line. It does not lift, ripple, or catch footwear. This is the best-case result.

Uneven Subfloor
Condition 02 · Uneven Subfloor
Visible Lift or Slight Ridge at the Seam
Where the subfloor has bumps, dips, or high spots beneath the joint, the seam can appear as a slight raised line or small ripple. The tape still holds but the unevenness below telegraphs through the vinyl surface.

Over Time
Condition 03 · With Regular Use
Seam May Become More Defined
Heavy foot traffic and repeated cleaning can cause the seam line to become slightly more visible over time. The tape bond remains secure, but the line becomes more defined particularly under raking light.
How Floor Unevenness Affects the Installed Mat
Marley vinyl is thin and flexible - it conforms to the surface beneath it. If the subfloor has irregularities, they will show in the finished floor. Here is what each type of unevenness causes and what can be done about it.
Bumps & High Spots
Small raised areas on the concrete create visible bumps in the mat surface. The vinyl bridges across them, and with foot pressure, the high spot telegraphs clearly through the floor. These can be ground down or filled before installation to eliminate the problem entirely.
Dips & Low Spots
Hollows beneath the mat mean the vinyl is unsupported in that area. The floor will feel soft or springy in that spot, and with heavy use, the mat may develop a crease or crinkle over the dip. Filling dips with a levelling compound before installation prevents this.
Screw Heads & Fixings
Exposed screw heads, nail heads, or any proud fixings in the subfloor will create small raised dots in the mat surface and over time, with repeated foot pressure, can puncture through thin vinyl. All fixings must be countersunk flush before the mat is laid.
Subfloor Join Lines
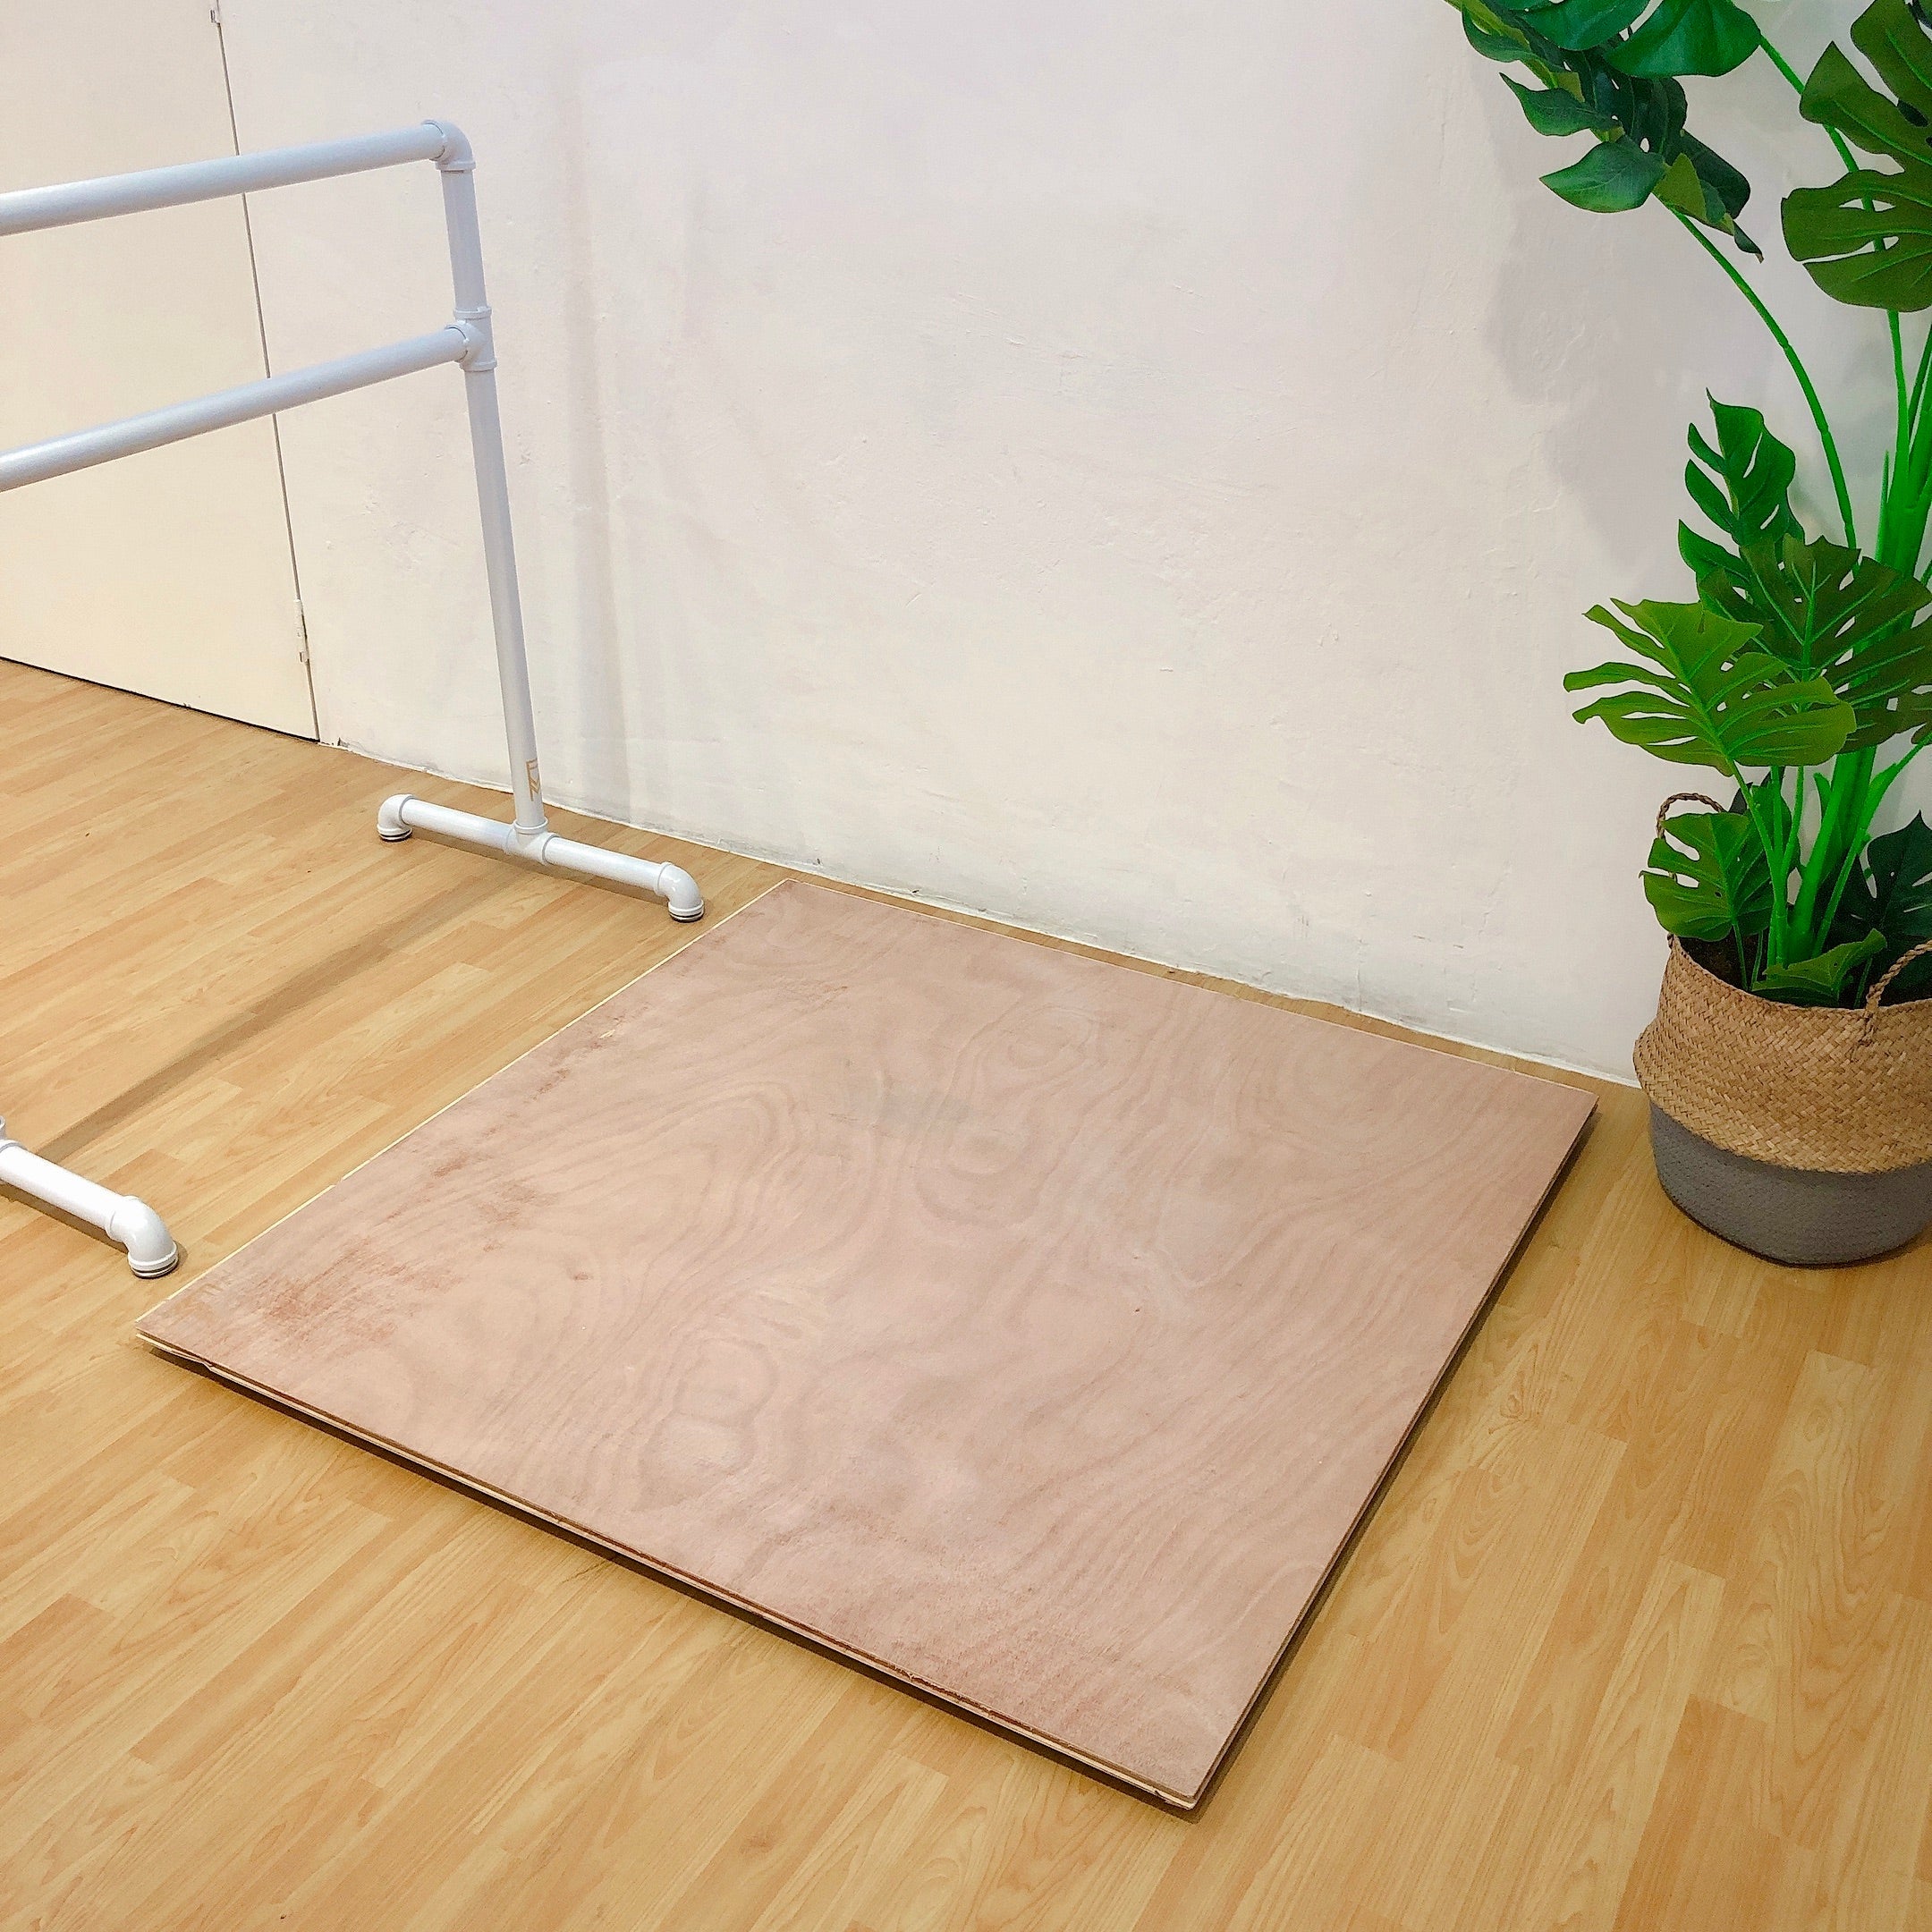
Where two subfloor panels meet particularly in wood or plywood subfloors the joint line telegraphs as a ridge in the Marley surface above it. This is especially noticeable at seams that run perpendicular to the subfloor joint. Filling and feathering subfloor joints before laying eliminates this entirely.
Sloping or Out-of-Level Floors
Floors with a noticeable slope affect how the mat lies and can cause sheets to slowly shift over time even when taped. For significantly out-of-level subfloors, a self-levelling compound should be applied before installation. This is particularly important for dance use where a level surface affects balance and technique.
Our recommendation: Before any Marley installation, we recommend a subfloor inspection. Addressing unevenness before the mat goes down takes significantly less time and cost than correcting issues after installation. We are happy to assess your subfloor as part of the consultation process - speak to our team before booking.
What Changes When You Add Heat Welding
If seam appearance matters for your space, heat welding is the upgrade worth considering. Here is the honest difference between the two approaches.
Standard - Taped Seam
Non-Welded Installation
Visible seam line runs across the floor surface
Seam can lift slightly over high spots in the subfloor
Tape bond may weaken in areas of heavy concentrated use
Moisture can penetrate the seam gap over time
Seam line becomes more defined with age and traffic
With Heat Welding
Heat-Welded Installation
Seam is permanently fused - no visible gap at the joint
Welded rod sits flush with the surrounding surface
Structural bond withstands intensive daily use
Seam is sealed - moisture cannot penetrate the joint
Finish remains consistent and clean over the long term
Questions About Your Floor Installation?
Speak to our team before you book. We can assess your subfloor, advise on the right installation method, and help you get the result you expect - no surprises after the mat goes down.
💬 Talk to Us on WhatsApp No obligation · We reply as soon as possible- Choosing a selection results in a full page refresh.